
For years, dairy and livestock producers have viewed manure management through a single lens: disposal. It’s a logistics headache, a regulatory hurdle, and—increasingly—a massive liability on the profit
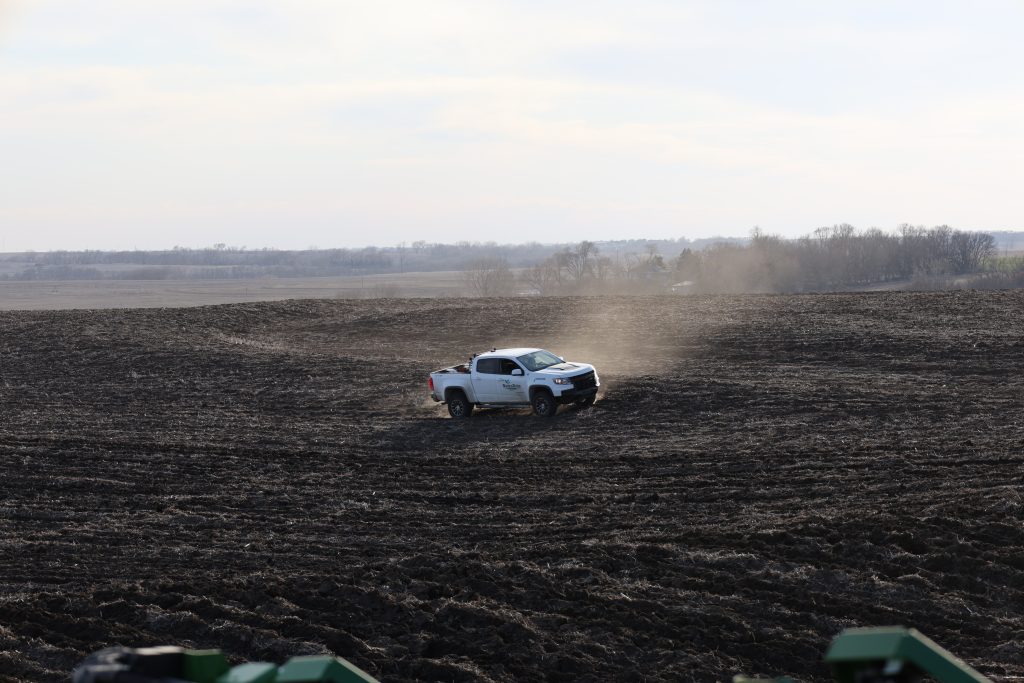
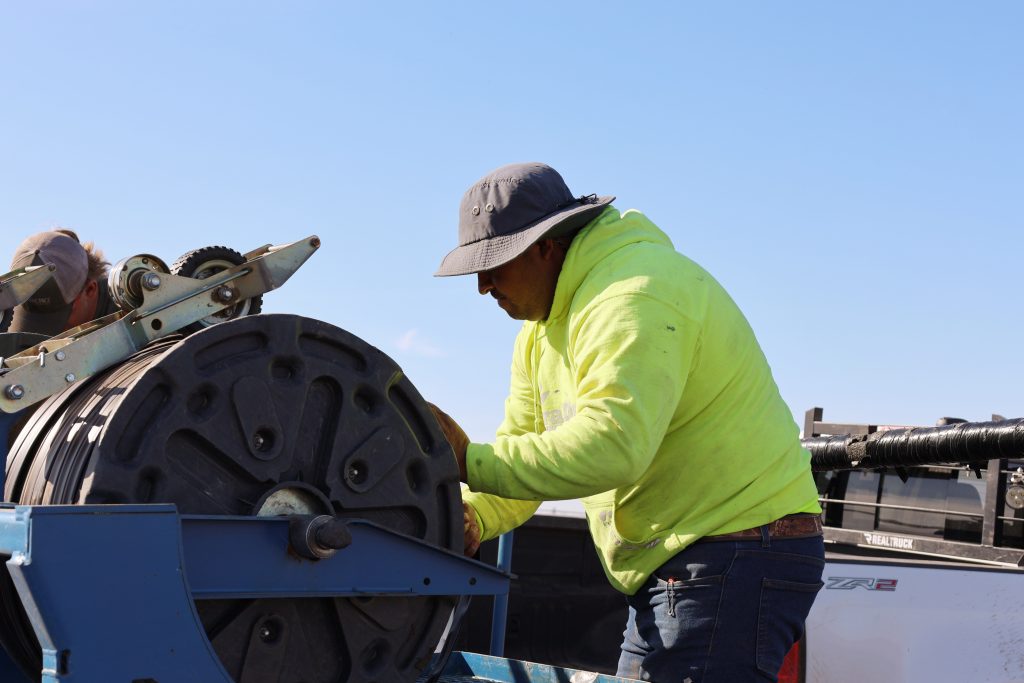
You turn the pivot on and feel good about it. Crop’s getting water, system’s running, you’re doing your job. But what if the act of
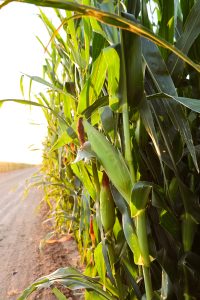
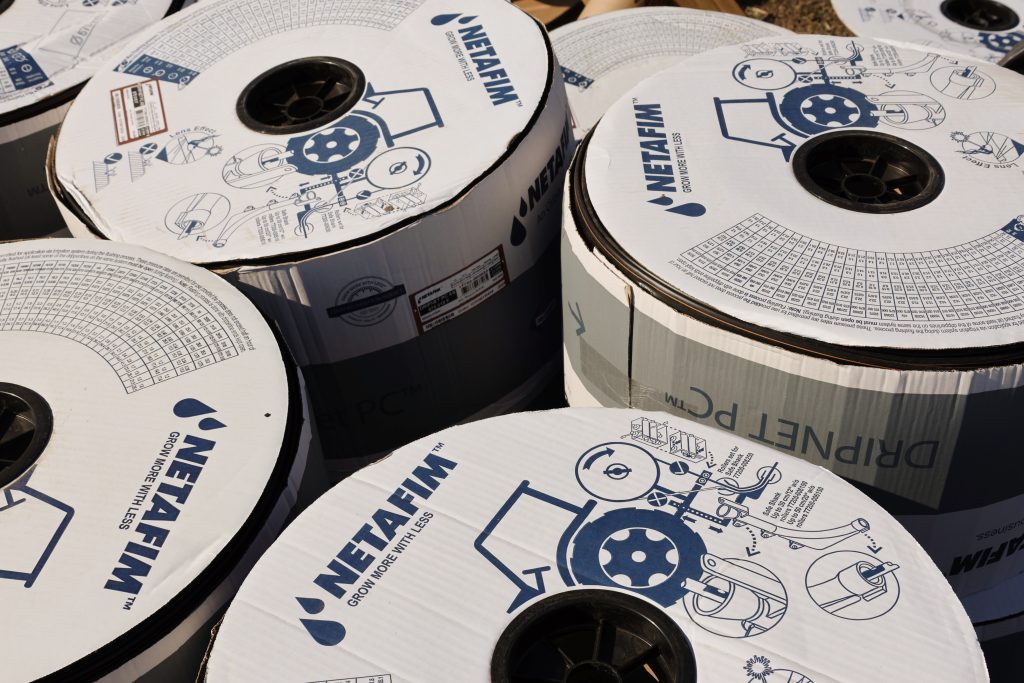
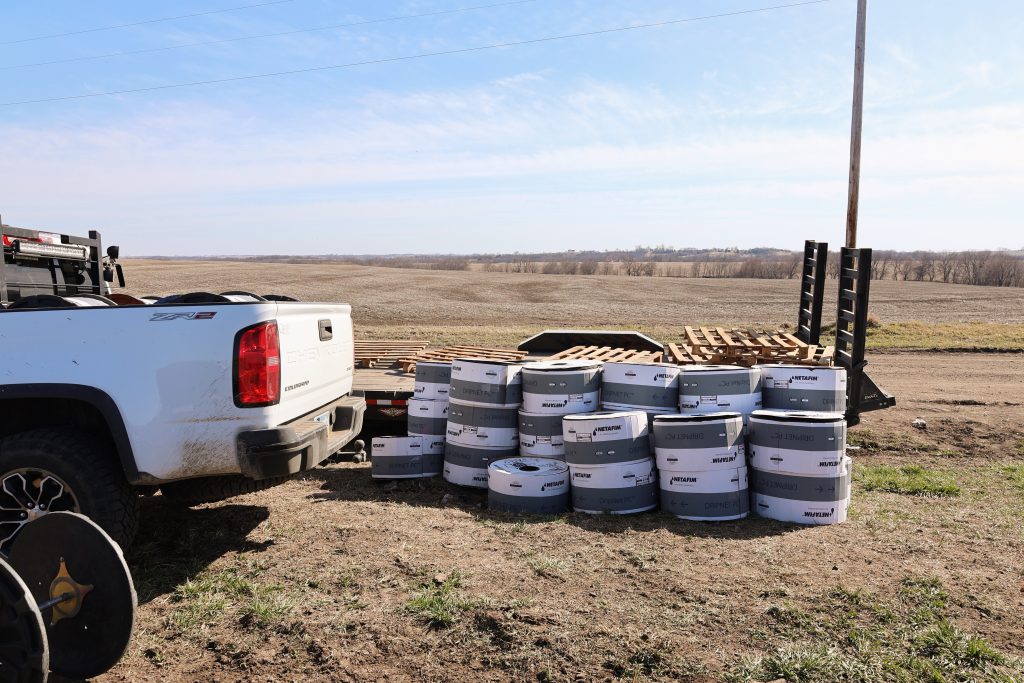
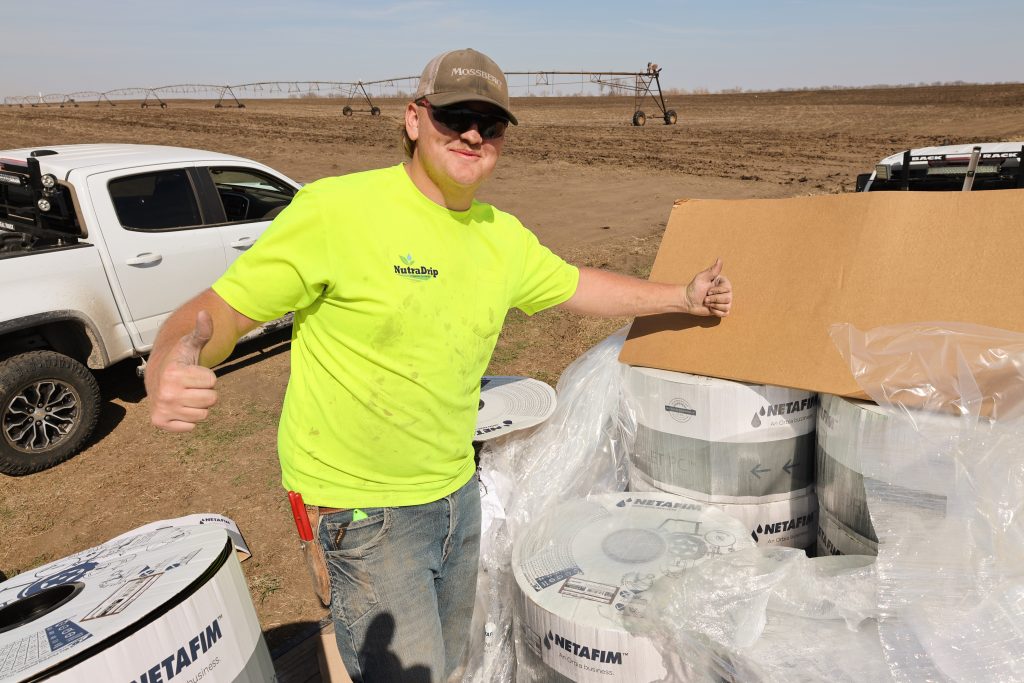
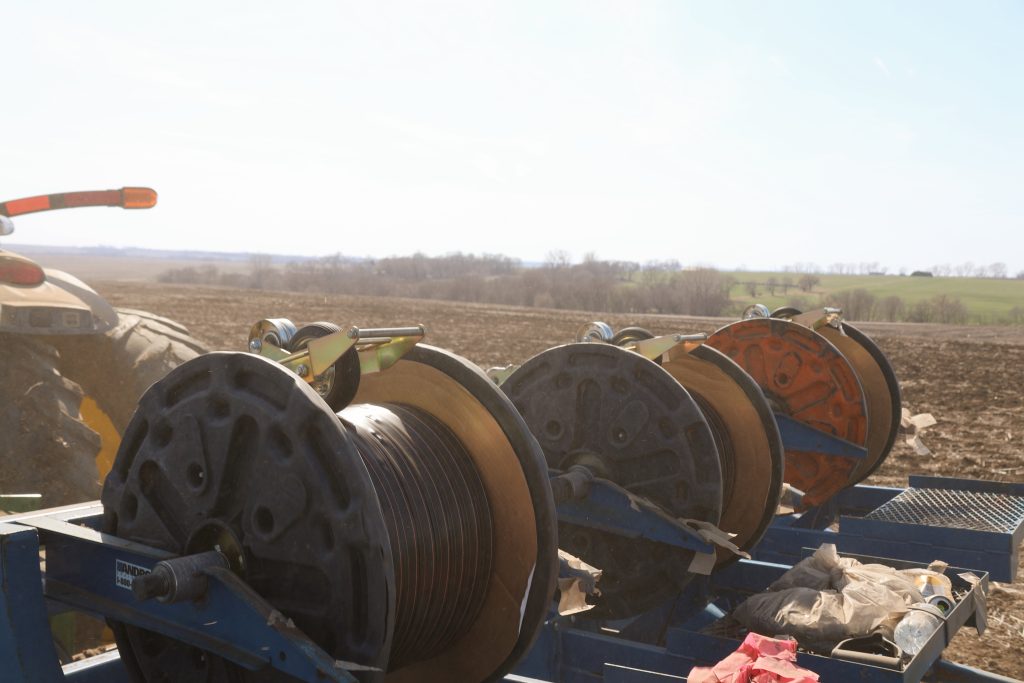
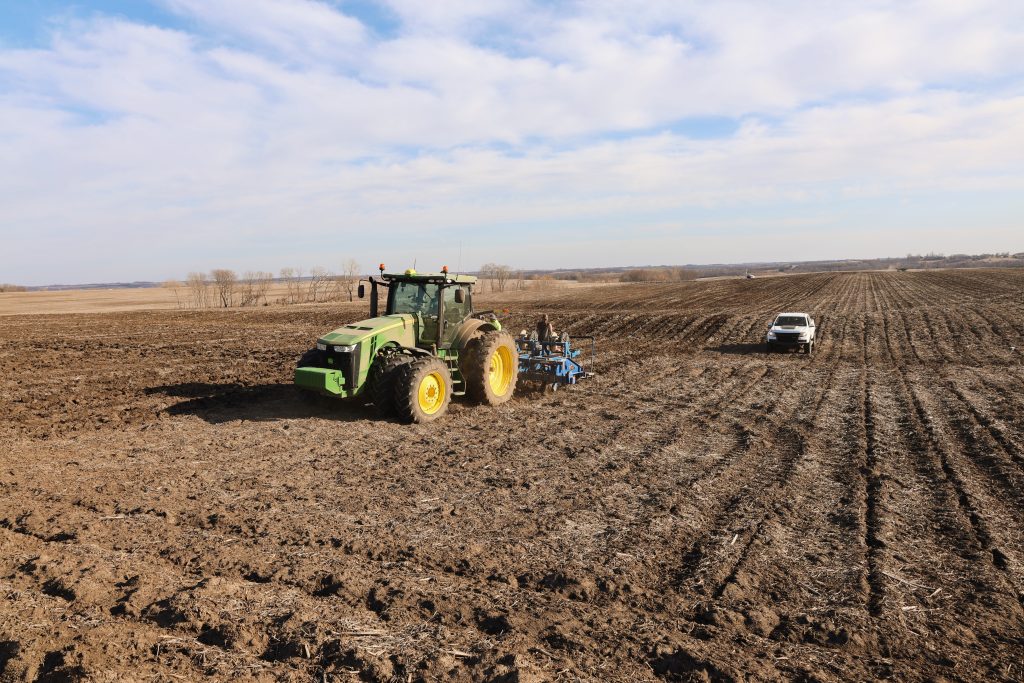
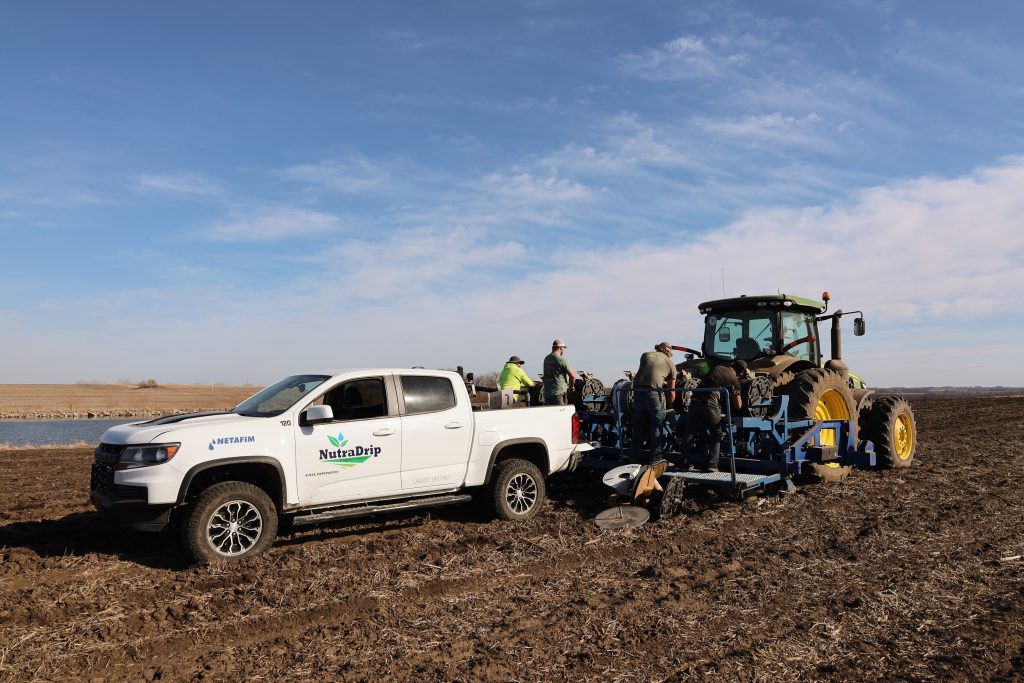
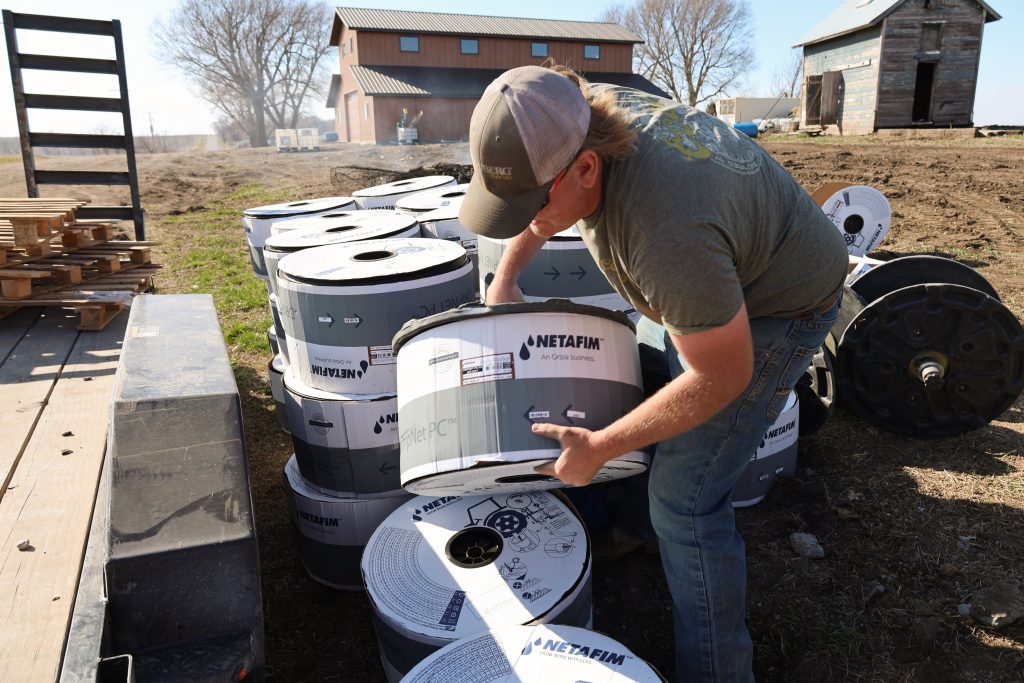
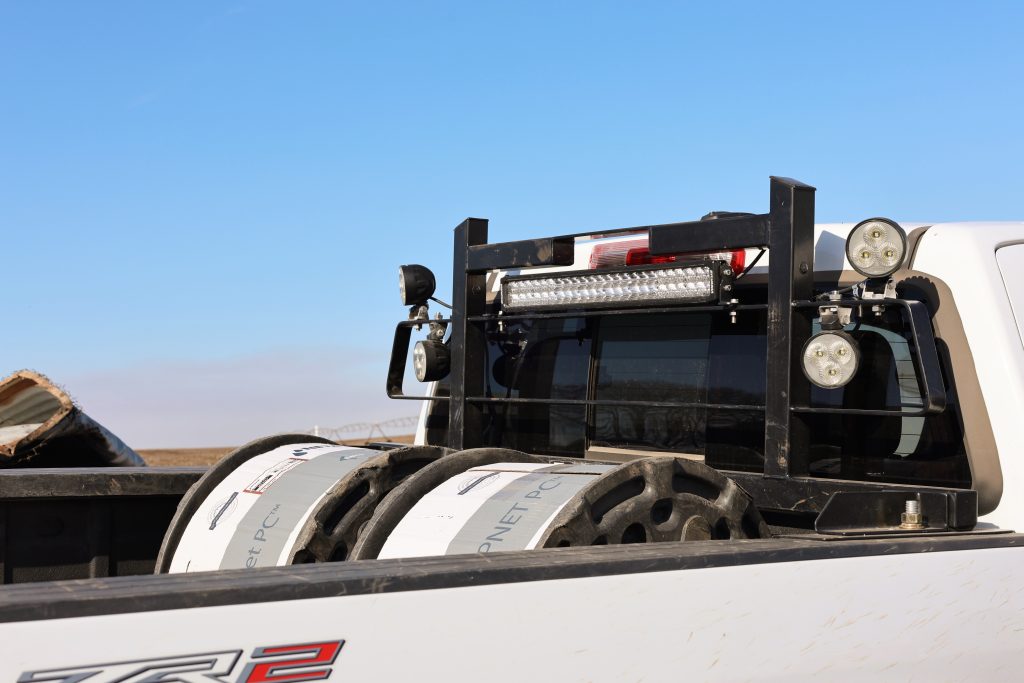
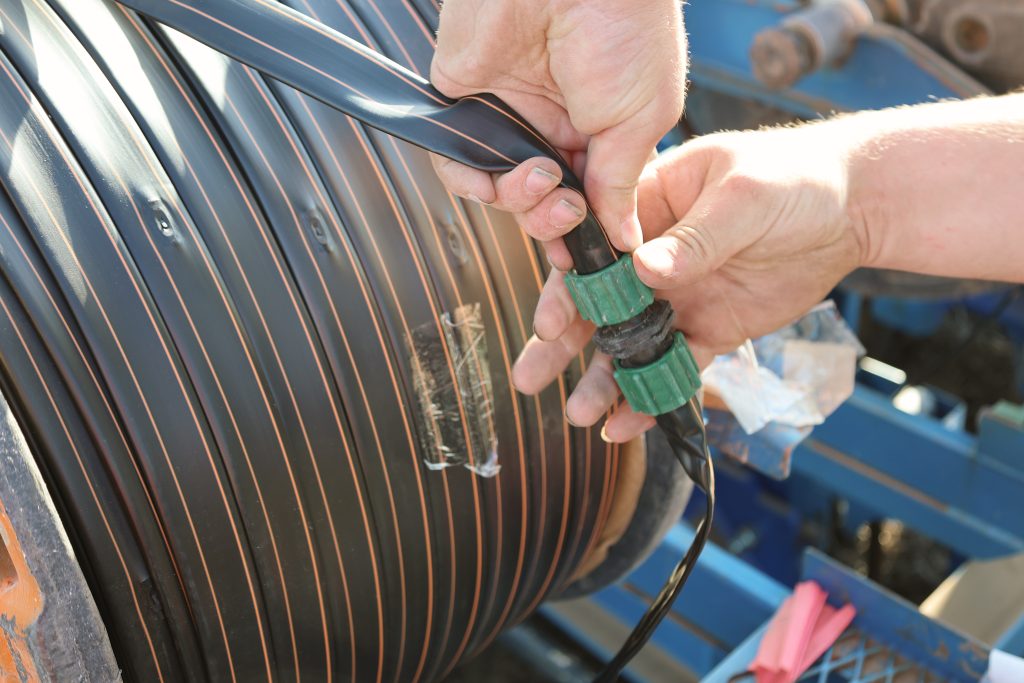
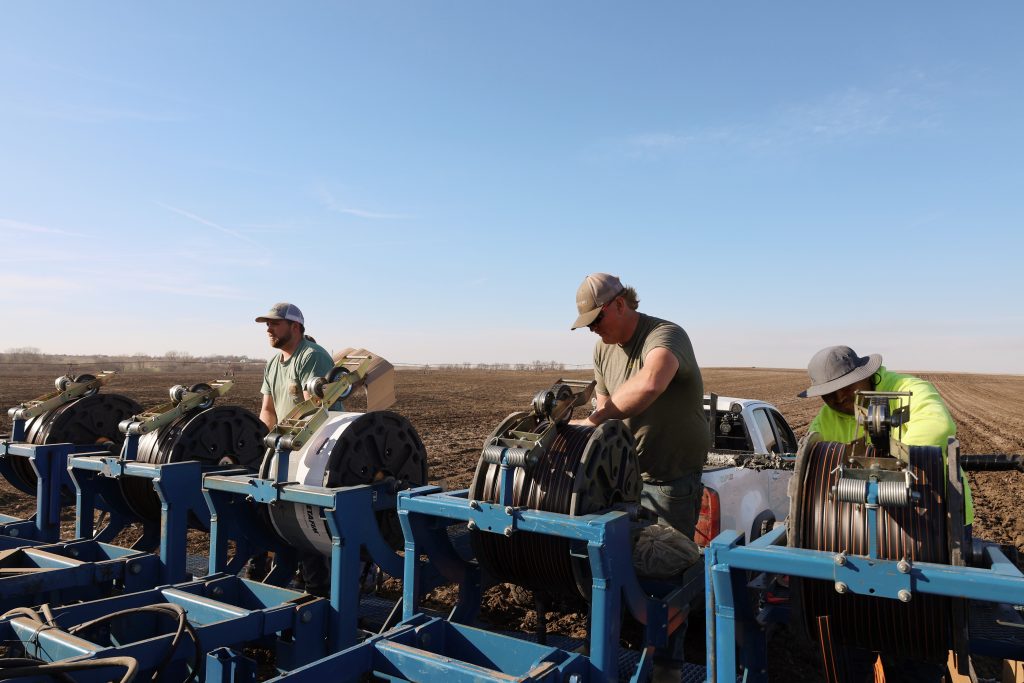
https://youtu.be/xK0u2mKWi_8 In the world of progressive agriculture, we’ve mastered tracking soil moisture. But as Kurt Grimm, CEO of NutraDrip, shared at the 2026 Agronomy Day in Hastings, Nebraska,
